Summer is nearly here!! Who's excited for the Summer solstice? This girl is! I seriously can not wait to spend more mornings, days, & evenings on my porch. Plus I can't wait for cool dips in the water & delicious summer time drinks. (Lemonade is my favorite so you know I've got two of my favorite recipes here.)
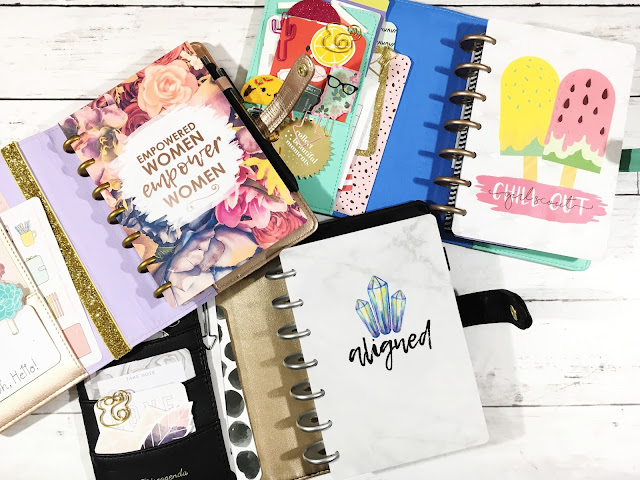
If you're a creative planner girl, I'm sure you love to style your planners for different seasons, holidays, and themes. Styling my planner as my mood or as the seasons change is a relaxing an creative process for me. Gathering up some of my die cuts, scrapbook paper, paper clips, and Project Life supplies and creating a cohesive vignette is a simple way to burn some creative energy! Until now, I've only had the Mini Happy Planner covers that are already in existence. But using InkScape and my Cricut Explore I've now got 3 summer themed planner covers - and I want to share them with you!
Shop Supplies on Amazon!
this post contains affiliate links, please see my full disclosure here.
supplies :: Cricut Explore, printer, 5 mil lamination pouches, printer paper, laminating machine regular Cricut blade, green Cricut mat, printable covers
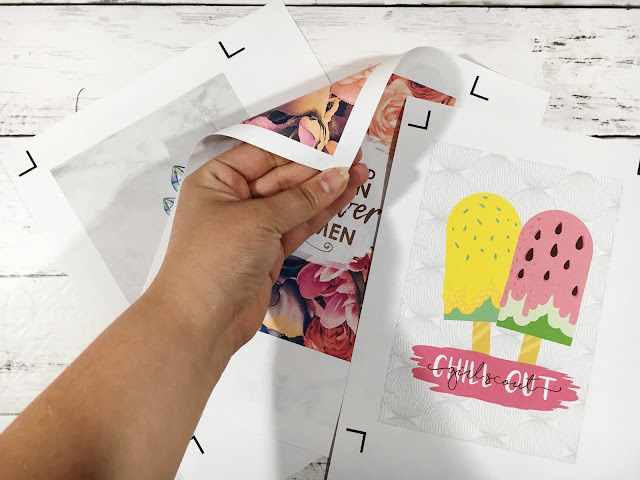
This is a print then cut project so you'll need to upload the cover of your choice to Cricut Design Space and size the height to 7.5 inches. Select Go, and print the cover on to your chosen printer paper. I use 32lb paper because it's a little bit sturdier but not as thick as cardstock.
Open the corresponding back file on your computer and print this image on the back of the cover page. Be sure you're using the highest print quality for a vibrant print! If you're unsure how to print back to front on your printer, you may want to do a google search for your specific printer. For my printer, I place the printed page face up and the second image is printed on the reverse side.
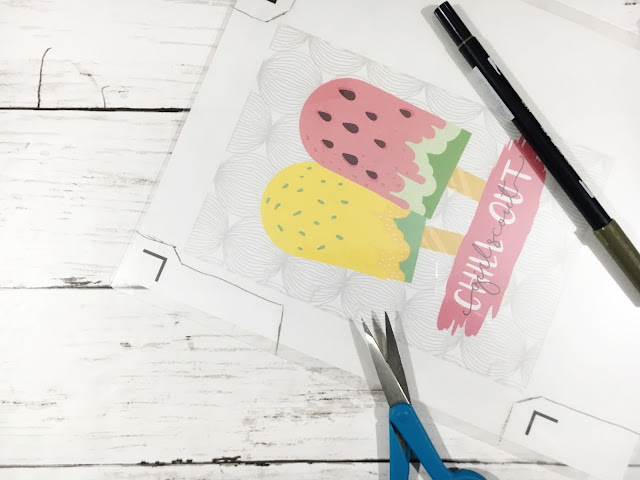
Next, laminate the printed page similarly to this tutorial, lining up and cutting out notches so that the registration marks aren't covered by the lamination. I've found that cutting far, far, far from the registration marks gives the most success!
Place the laminated page onto the Cricut mat. Set the dial to Poster Board + then cut the project following the prompts on your computer screen. You may find that one pass under this setting is not enough, simply press the flashing Cricut button again after the first cut is completed. This will run the mat through the cutting process again to ensure the cover is completely cut from the page. I've found that 3 passes is just right. You can create a custom material setting - but I'm lazy!
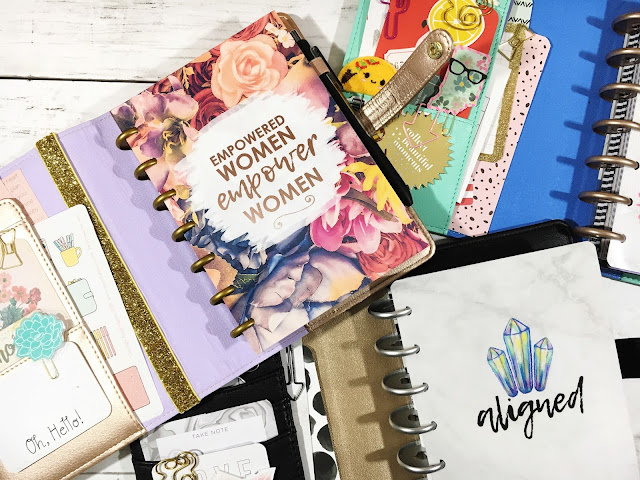
The best part about having the corresponding back pattern is that the cover looks great from both angles! And you can use it as a dashboard for sticky notes or just look at how professional your creation is!
Remember, all files downloaded from the blog are for personal use only. Do not distribute the files or the finished product. Do not claim any part of this file as your own. Do not print and disseminate in mass quantities. If you'd like to share this project with others, please link to or Pin this post. As always, thank you for playing nice.
DOWNLOAD MINI HAPPY PLANNER COVER FILES HERE
Remember, all files downloaded from the blog are for personal use only. Do not distribute the files or the finished product. Do not claim any part of this file as your own. Do not print and disseminate in mass quantities. If you'd like to share this project with others, please link to or Pin this post. As always, thank you for playing nice.
Now pop your cover onto your Mini Happy Planner! I love the variety of Deluxe Covers for the Mini Happy Planners (there is a HOLOGRAPHIC! one for the classic size, did you know?!?!?!?!) and have found that the personal size Disc Agenda Covers from Love Doki fit the Mini Happy Planner perfectly! My favorite is the constellations one!
When you make this project please, please tag me in your photos on Instagram. You can also join my Cricut Ready Stickers group on Facebook for printable stickers and project shares!
Do you change your planner accessories seasonally? What do you use to style your planners?
xoxo, Moe


This is great! I recently changed my cover but wasn't very happy with it since I only have a few from MAMBI. This came at the right time! Thanks for sharing your talents with all of us.
ReplyDeleteThis comment has been removed by a blog administrator.
ReplyDelete