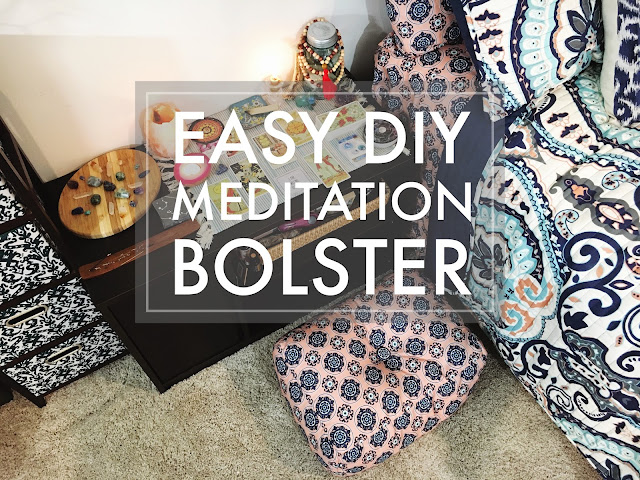
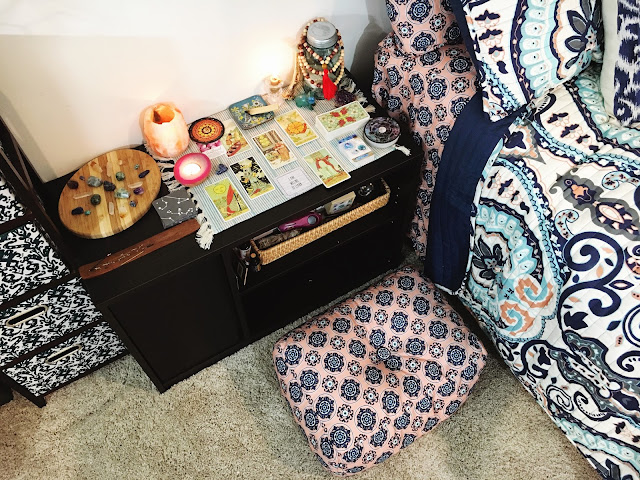
I'm in the middle of redoing the spare room downstairs with some bohemian inspired bedding I got for a super great deal from our local Meijer. One of the key parts of the spare room downstairs is my sacred space! This is where I go to meditate, journal, and all around connect with myself. I love that this space of mine is separate from my actual bedroom because that means it is a place I can go to. It is a place I can show up to when I need to.
 this post contains affiliate links, please read my full disclosure here.
Today I want to share with you how to make a comfortable meditation bolster. This project was easy...yet annoying. You'll totally love the results...but you may not ever want to make a pillow again. Before I made this guy, I was using a small pillow. Once I realized that pillow wasn't high enough and just wasn't supportive enough I went on to use one of the chairs from my craft table. In the end, neither of these options had the right height or support for my booty. So I thought to myself 'hey, you can make a bolster!' and that's what I did.
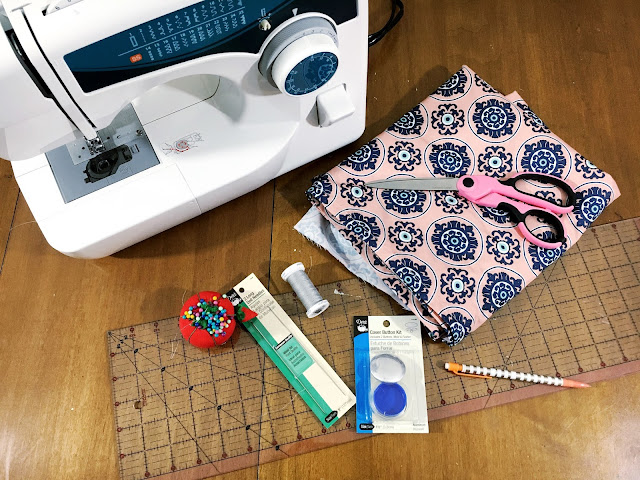
supplies // fabric (I used an extra sheet set to match the new bedding), sewing machine, matching thread, ruler/measuring tape, pins, bean bag chair beans, 1.5 inch button cover kit, doll needle
I started with 6 fabric peices - 2 14 x 20 inch pieces, 2 14 x 9 inch pieces, and 2 20 x 9 inch pieces. This pillow will be stored in the bottom shelf of my meditation altar so I took these measurements to ensure it fits. Feel free to make your pillow a different size, but this guy is the perfect height to elevate your bum enough so your legs don't fall asleep during mediation!
Pin the right sides of the 4 squat pieces together and sew up the short sides to create a long strip of fabric. The seam allowance here is set to be .5 inches. In hindsight, I would have used just a long, single piece of fabric as the sides of the bolster rather than sewing these 4 pieces together. I also suggest using a zig zag stitch for strength. I'm using some cheapo fabric so the zig zag stitch gives the seams a little more substance. Leave an opening to add the beans
Pin the top and bottom pieces (the 20 x 15 pieces) to the top and bottom of the tube you've created - make sure you're pinning everything right sides together. This is the tricky part & where the single long strip might have been better. As you're sewing around and reach the corners be sure to pull the extra fabric out so that you're not sewing over the corners too much.
Turn the pillow inside out so the right side is now facing outward & fill it with beans. This is going to be the messy & most annoying part. The end result is so worth it though. I used a paper funnel and measuring cup to funnel the beans into the pillow. Once you get the pillow good and full, test it out. If it feels overstuffed just shake out a nice chunk of the beans. Hand or machine stitch the little opening closed.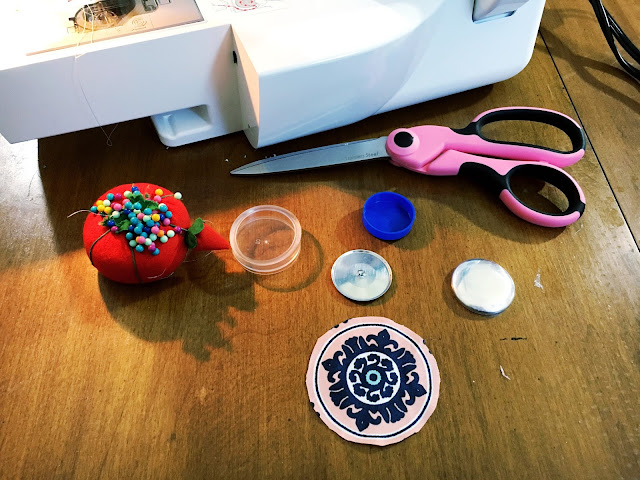 To finish the bolster, add a coordinating covered button. You can pick up these covered button kits at your local sewing shop so this isn't something special you'll have to seek out. Simply follow the directions on the back of the package. Cut a circle to the required shape, place it over the form, push the button into the form. Fold the extra fabric over, place the button backing on top, and push it down to secure. Bam! Button.
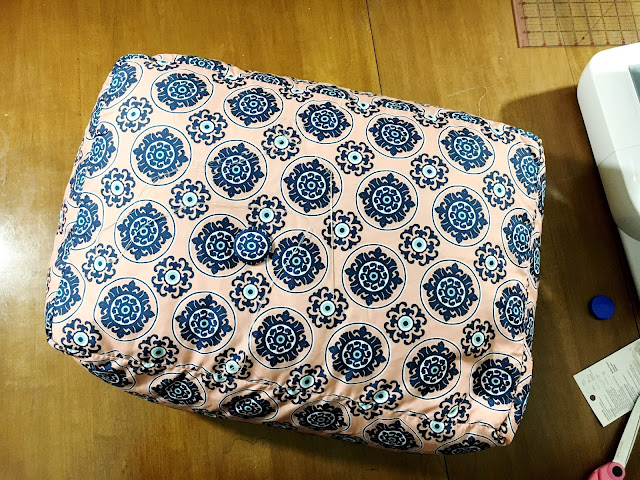

Using the long doll needle and doubled over thread - you can even use two strands, doubled, for extra strength - attach the buttons to both sides. Poke the needle through the center of once side to the center of the other side of the bolster. This may take a few tries. Once you reach the other side, slip a button through then pass the needle back through to the first side. Add the second button, pull taught, and secure with a few knots.
Turn the pillow inside out so the right side is now facing outward & fill it with beans. This is going to be the messy & most annoying part. The end result is so worth it though. I used a paper funnel and measuring cup to funnel the beans into the pillow. Once you get the pillow good and full, test it out. If it feels overstuffed just shake out a nice chunk of the beans. Hand or machine stitch the little opening closed.
 To finish the bolster, add a coordinating covered button. You can pick up these covered button kits at your local sewing shop so this isn't something special you'll have to seek out. Simply follow the directions on the back of the package. Cut a circle to the required shape, place it over the form, push the button into the form. Fold the extra fabric over, place the button backing on top, and push it down to secure. Bam! Button.

Using the long doll needle and doubled over thread - you can even use two strands, doubled, for extra strength - attach the buttons to both sides. Poke the needle through the center of once side to the center of the other side of the bolster. This may take a few tries. Once you reach the other side, slip a button through then pass the needle back through to the first side. Add the second button, pull taught, and secure with a few knots.
And you're done! See, easy peasy. Though slightly annoying.
Using this bolster now relieves the pain on my hips, allows the blood to circulate, and gives me the right height to see my altar. It also fits perfectly into the space under my altar table. The altar table itself is a TV stand from either Walmart or Meijer, I can't remember. (Oh! Walmart is also a part of ebates! Be sure to sign up here if you haven't started to use ebates yet!). It has shelving space plus a little door with some shelve too - perfect for hiding away journals, etc.
I am in love with this little space. Be sure to check back soon to see the whole room put together + some other decor DIY's! If you'd like to check out some of the other rooms in my house I've got a living room tour + a craft room tour over on my YouTube channel. You can check out the bedroom tour here on the blog. Need more DIY decor inspiration? Click here!
Do you have a sacred space? Where do you go to connect with yourself?


Your meditation cushion is an excellent idea - something with which you connect in order to meditate. My meditations space is in my favourite seat in the formal sitting room. The large windows that connects it with the garden always put me in the right mood to meditate.
ReplyDelete